Backend Configuration
Config Server Properties
Once the service is deployed, you must maintain and update the following properties within your Config Server.
Update the properties inside the ITM folder created inside config server.
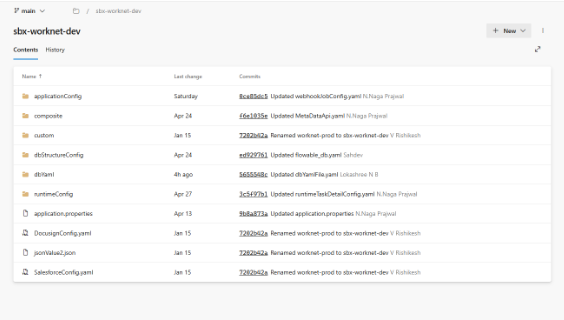
Properties to be updated in application.properties
| Property | Description |
|---|---|
| datasource.url | The connection string for the ITM primary database |
| crudapi-url | The endpoint URL of the deployed CRUD Service note : after pasting the deployed url add this at the end of the url ‘/crud/api’ |
| worknet-api | The endpoint URL of the Worknet component |
| notification-api | The endpoint URL for the Messaging service (IF REQUIRED) |
| nativeWf-url | The endpoint URL for NATIVE WORKFLOW (IF REQUIRED) |
| workforms-url | The endpoint URL for the Workforms UI/Service (IF REQUIRED) |
| workaccess-api-url | The endpoint URL for IWA/Service (IF REQUIRED) |
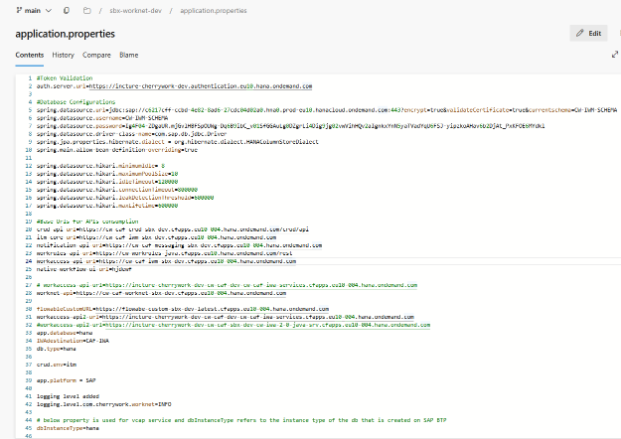
Workaccess Configuration (IWA)
If the IwaImpl profile is active in manifest:
SPRING_APPLICATION_JSON: '{"spring.application.name":"sbx-iwm-java-dev","spring.config.import":"optional:configserver:https://cw-caf-configserver-sbx-dev.cfapps.eu10-004.hana.ondemand.com/","spring.profiles.active":"enableCache,configDB,auth-source-sap,readYamlFromConfig,javamelody,IwaImpl"}'
ITM will delegate identity and role management to the IWA microservice.
Deployment Requirement
Ensure the IWA service is healthy.
Configuration
Add the workaccess-api-url property to your Config Server application.properties file, pointing to the deployed IWA 2.0 instance.
If deployment is limited only for the inbox and no need of any user, role and group management or any other dependency on IWA you can change the manifest to use this profile: SAP_IAS
SPRING_APPLICATION_JSON: '{"spring.application.name":"sbx-iwm-java-dev","spring.config.import":"optional:configserver:https://cw-caf-configserver-sbx-dev.cfapps.eu10-004.hana.ondemand.com/","spring.profiles.active":"enableCache,configDB,auth-source-sap,readYamlFromConfig,javamelody,SAP_IAS"}'
Frontend Configuration
ui_deployer
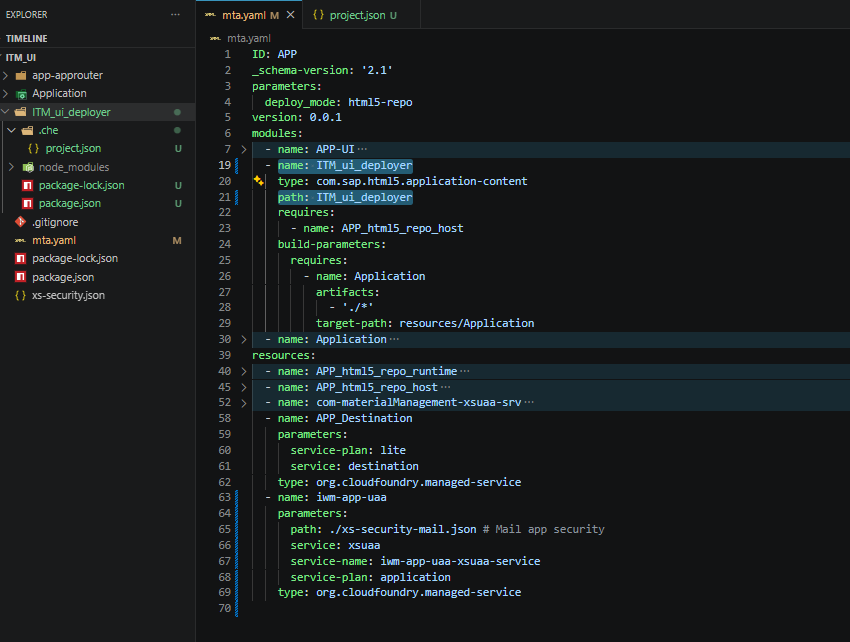
Rename the APP_ui_deployer folder using the respective project name. For example, for ITM, the folder name should be ITM_ui_deployer.
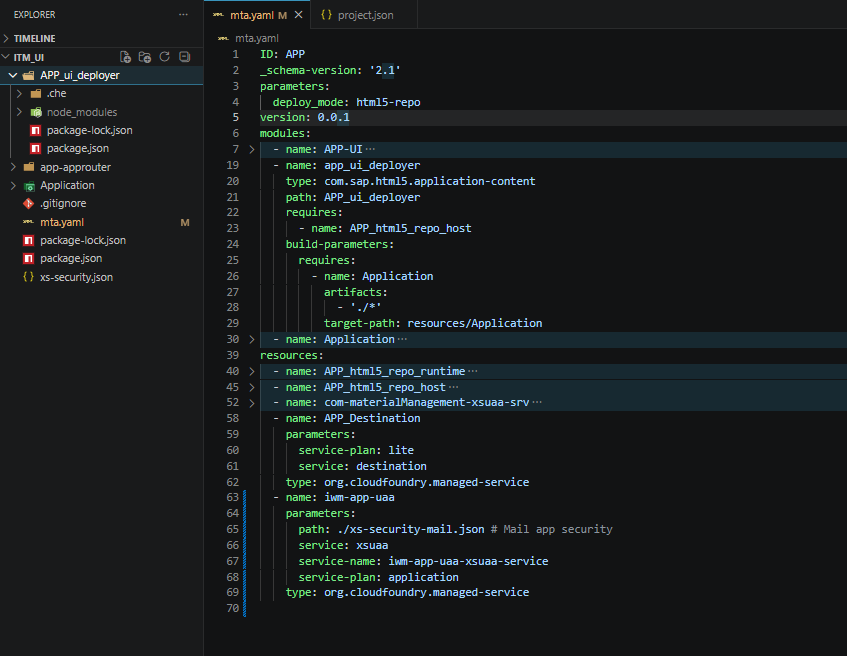
Update the APP_ui_deployer path references in the mta.yaml file to the renamed project-specific folder name. For example, replace it with ITM_ui_deployer.
Also, update the deployer name in the mta.yaml file to a project-specific name, as this is the name that will be displayed in BTP. For example, replace app_ui_deployer with itm_ui_deployer.
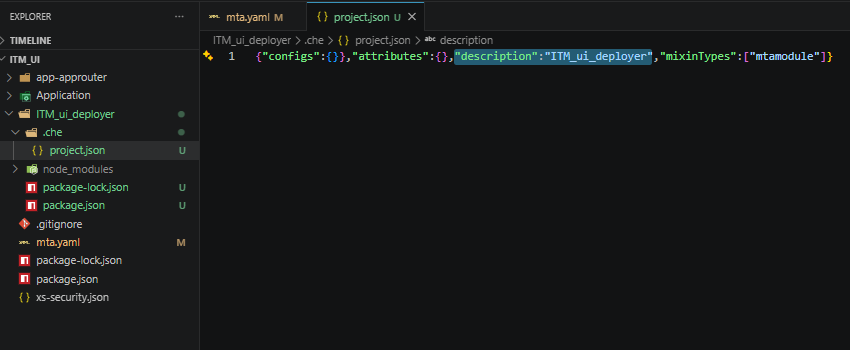
Search for APP_ui_deployer in the .che/project.json file and replace it with the updated UI deployer folder name. For example, replace it with ITM_ui_deployer.
Approuter
Rename the app router folder from app-approuter to a project-specific name. For example, ITM_approuter.
<PROJECT_NAME>_approuter
Example:
ITM_approuter
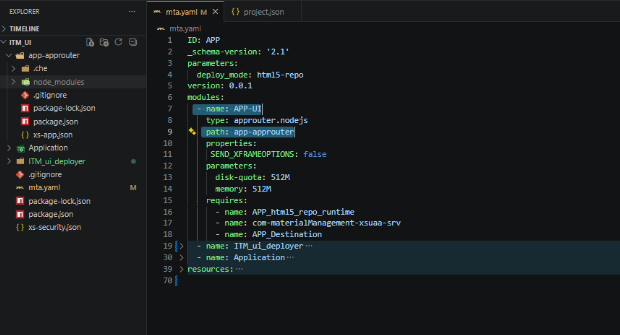
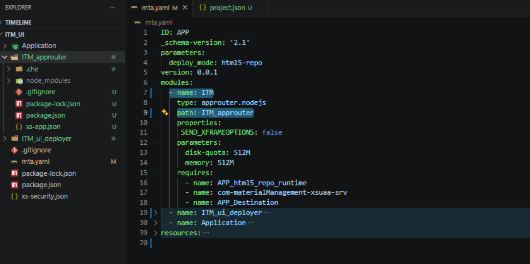
Update the app router module path in the mta.yaml file with the renamed project-specific app router folder name. For example, search for the module with type approuter.node.js and replace the path with ITM_approuter.
Also, update the app router name in the mta.yaml file to a project-specific name, as this is the name that will be displayed in BTP. For example, rename APP-UI to ITM.
Other Changes in mta.yaml
html5_repo_host
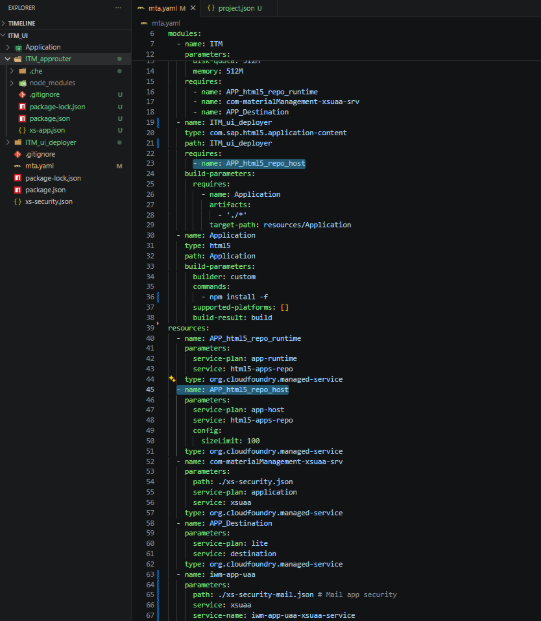
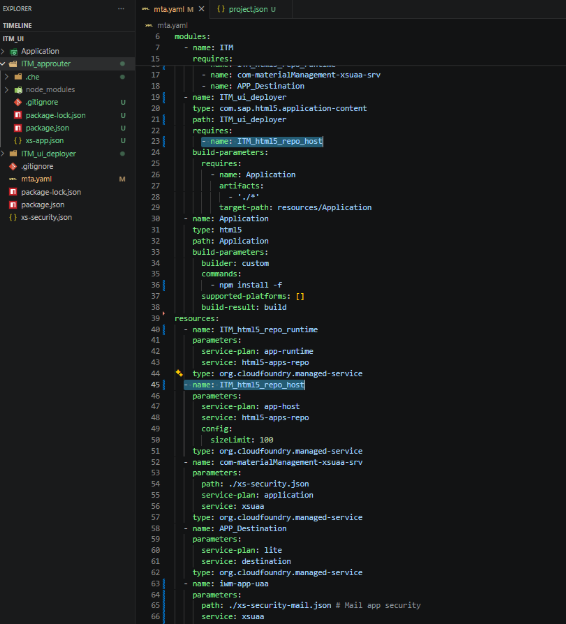
Rename html5_repo_host names from APP_html5_repo_host to the project-specific name.
Replace:
APP_html5_repo_host
with:
ITM_html5_repo_host
Perform a search and replace throughout the mta.yaml file to ensure all references are updated correctly.
html5_repo_runtime
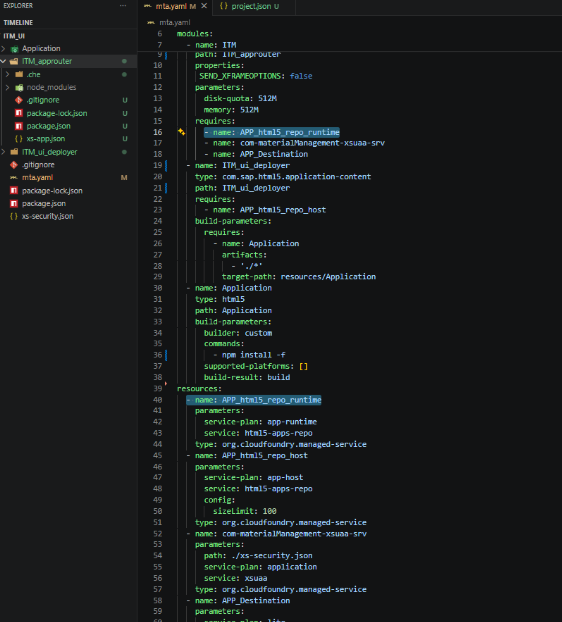
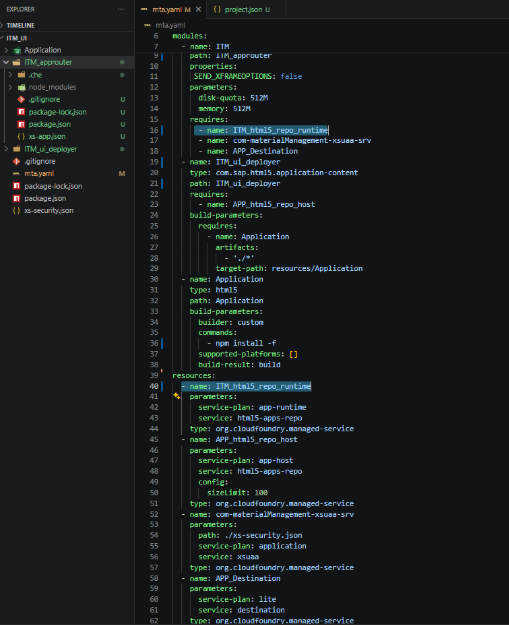
Rename APP_html5_repo_runtime to the project-specific runtime name in the mta.yaml file.
Replace:
APP_html5_repo_runtime
with:
ITM_html5_repo_runtime
Perform a search and replace throughout the mta.yaml file to ensure all references are updated correctly.
Destination Service
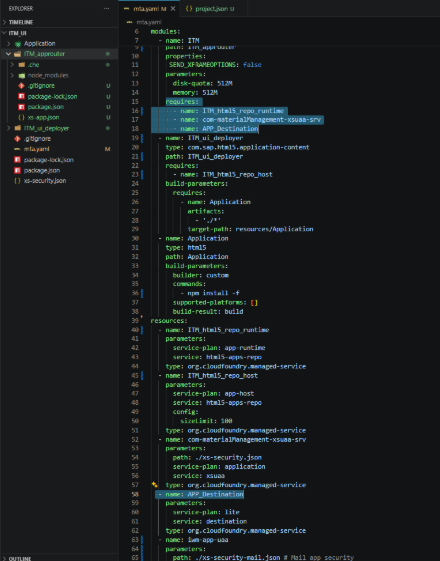
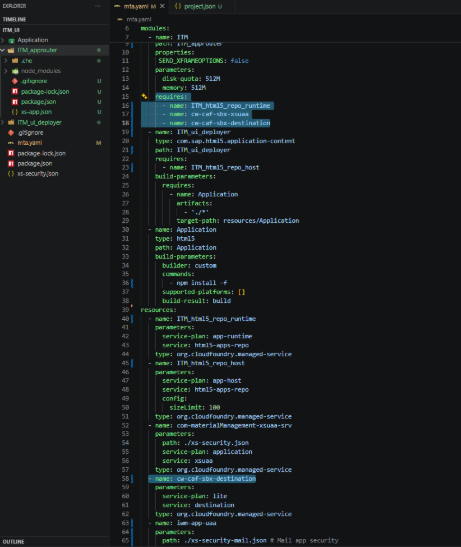
Search for the destination service in the resources section of the mta.yaml file and rename.
Replace:
name: APP_Destination
with:
name: cw-caf-sbx-destination
You will find the same destination referenced under the required resources for the app router module. Update the destination name there as well.
Replace:
name: com-materialManagement-xsuaa-srv
with:
name: cw-caf-sbx-xsuaa
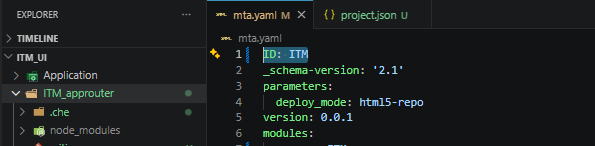
Change the application ID from APP to the project-specific name (for example, ITM), as this determines the generated .mtar file name and version.
Add Project Codebase
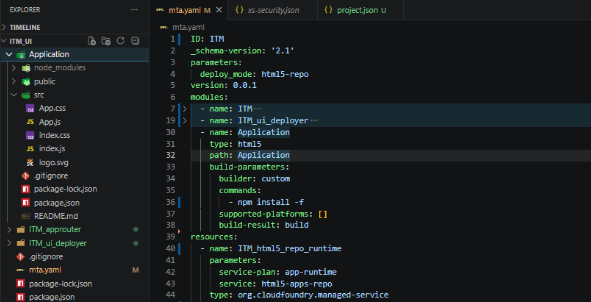
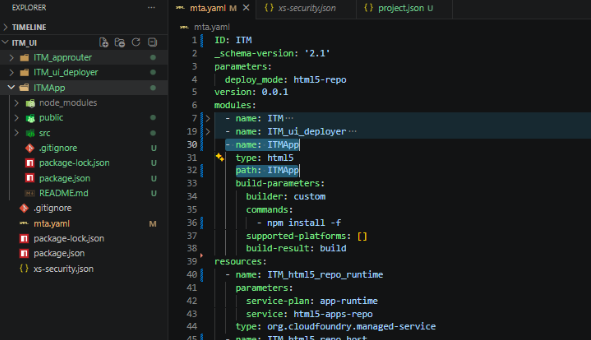
Add your codebase in the folder named Application. Rename the folder to a project-specific name. Example: ITMApp.
Find the module with type html5 in mta.yaml and rename both the module name and path to the project-specific name.
Example:
ITMApp
Application Entry Point
Application/src/index.js will be the starting point of the application.
In the mta.yaml file, update the application name accordingly.
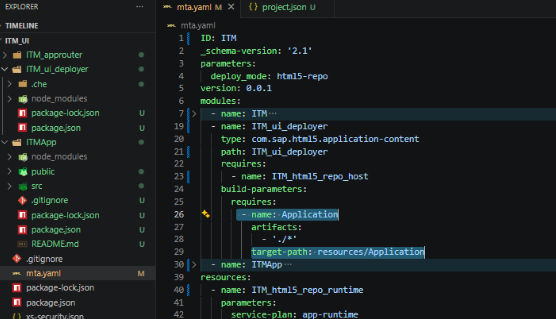
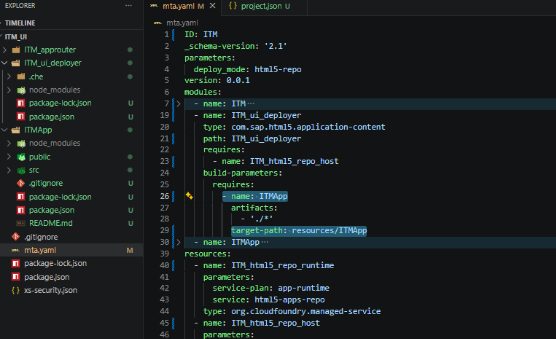
In ITM_ui_deployer/build-parameters > deploy, Update the name and the target-path to the project-specific name.
Example:
ITMApp
xs-security.json and xs-app.json
Make necessary changes in:
xs-security.jsonxs-app.json
manifest.json Changes
Replace:
SampleApplication
with:
ITMApplication
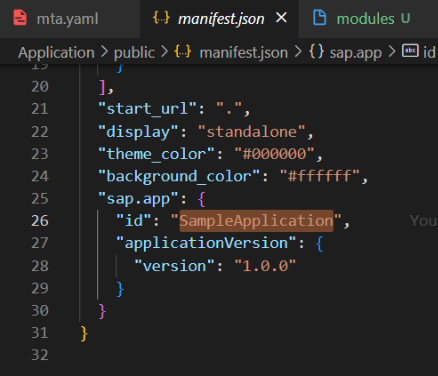
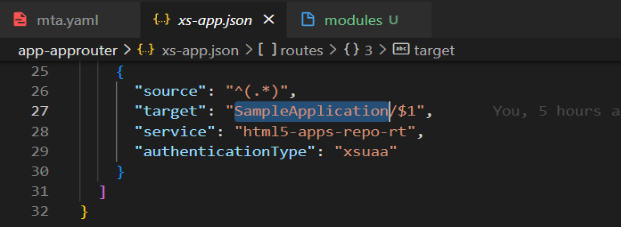
In xs-app.json, for the route with source ^(.*), replace the target value with the name configured in manifest.json.
Example:
"target": "ITMApplication/$1"
package.json Changes
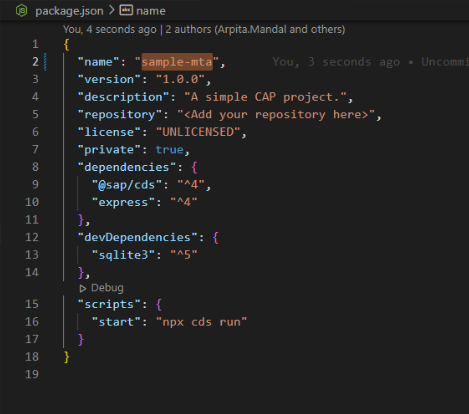
In the root package.json file, update the "name" field from "sample-mta" to the project-specific name.
Replace:
"name": "sample-mta"
with:
"name": "itm-mta"